
Jekyll is a classic static site generator built on Ruby. In this guide, you’ll deploy a Jekyll project to an Ubuntu server using CloudRay, a platform for managing servers and running automation Bash scripts at scale.
This guide assumes you already have a Jekyll project. However, if you’ve not created a Jekyll project, check out the Jekyll getting started guide to learn more and create your own.
Contents
- Adding Servers to CloudRay
- Create a Deployment Script
- Define the Variable Group
- Run the Deployment Script
- Next Step
- Summary
Adding Servers to CloudRay
Before getting started, make sure your machine is added to a CloudRay project and connected using the CloudRay Agent.
Create a Deployment Script
Now that your machine is connected to CloudRay, let’s create a reusable Bash script to automate the deployment process. You need to follow these steps to create the script in CloudRay.
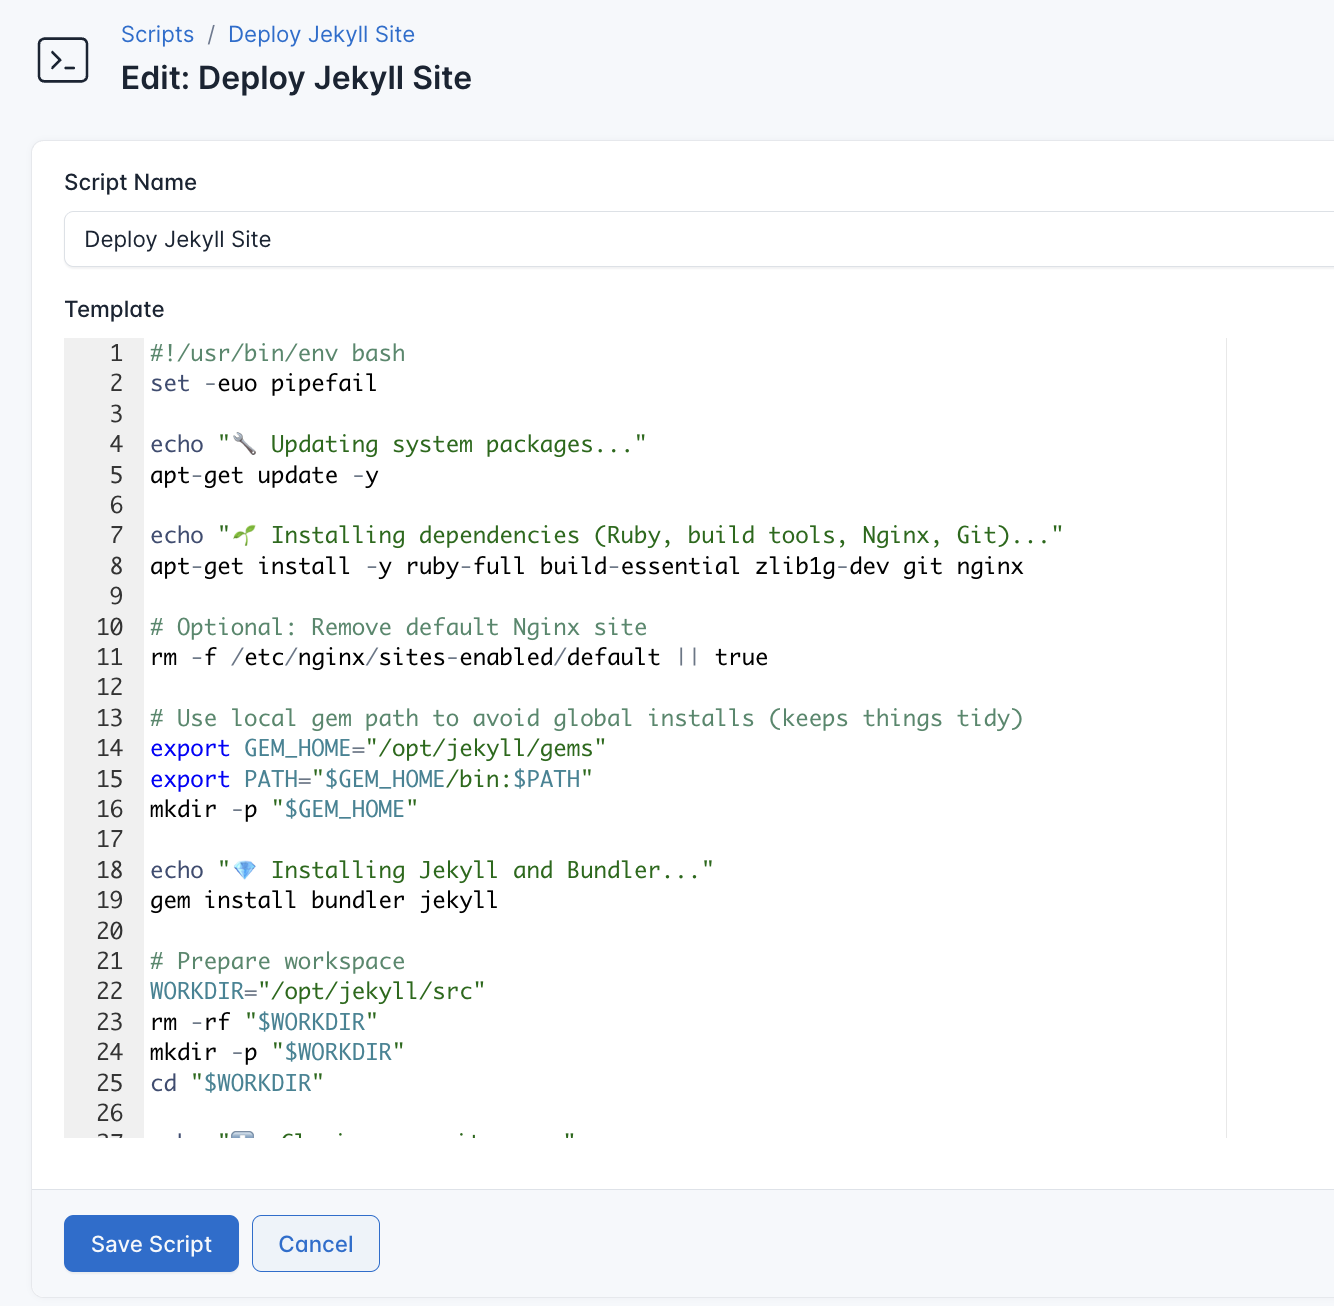
- Go to Scripts in your CloudRay project
- Click New Script
- Name:
Deploy Jekyll Site. You can give it any name of your choice - Copy this code:
#!/usr/bin/env bash
set -euo pipefail

echo "🔧 Updating system packages..."
apt-get update -y

echo "🌱 Installing dependencies (Ruby, build tools, Nginx, Git)..."
apt-get install -y ruby-full build-essential zlib1g-dev git nginx

# Optional: Remove default Nginx site
rm -f /etc/nginx/sites-enabled/default || true

# Use local gem path to avoid global installs (keeps things tidy)
export GEM_HOME="/opt/jekyll/gems"
export PATH="$GEM_HOME/bin:$PATH"
mkdir -p "$GEM_HOME"

echo "💎 Installing Jekyll and Bundler..."
gem install bundler jekyll

# Prepare workspace
WORKDIR="/opt/jekyll/src"
rm -rf "$WORKDIR"
mkdir -p "$WORKDIR"
cd "$WORKDIR"

echo "⬇️  Cloning repository..."
git clone "{{repo_url}}" "{{app_name}}"
cd "{{app_name}}"

echo "📦 Installing project gems..."
# Install gems into vendor/bundle so the build is self-contained
bundle config set path 'vendor/bundle'
bundle install

echo "🏗️ Building the Jekyll site..."
# JEKYLL_ENV=production ensures production build (e.g., minification if configured)
JEKYLL_ENV=production bundle exec jekyll build

echo "📂 Preparing deploy directory..."
mkdir -p "{{deploy_dir}}"
# Copy the generated static site
rsync -a --delete "_site/" "{{deploy_dir}}/"

echo "🧭 Writing Nginx server config..."
cat >/etc/nginx/sites-available/jekyll-site <<'NGINX_CONF'
server {
    listen 80;
    server_name {{domain}};

    root {{deploy_dir}};
    index index.html;

    location / {
        try_files $uri $uri/ =404;
    }
}
NGINX_CONF

ln -sfn /etc/nginx/sites-available/jekyll-site /etc/nginx/sites-enabled/jekyll-site

echo "🔁 Testing and reloading Nginx..."
nginx -t
systemctl enable --now nginx
systemctl reload nginx

echo "✅ Deployment complete. Visit: http://{{domain}}"
Here is what the Deploy Jekyll Site does:
- Installs Ruby, Bundler, Jekyll, Git, and Nginx
- Clones your Jekyll repo and installs its gems
- Builds the site to
_site/and syncs it to{{deploy_dir}} - Creates an Nginx server block and reloads Nginx
Define the Variable Group
To make this script reusable across multiple projects or servers, you’ll define a variable group inside CloudRay. These variables dynamically fill in the placeholders like {{repo_url}}, {{app_name}}, {{deploy_dir}} and {{domain}}. CloudRay processes all scripts as Liquid templates.
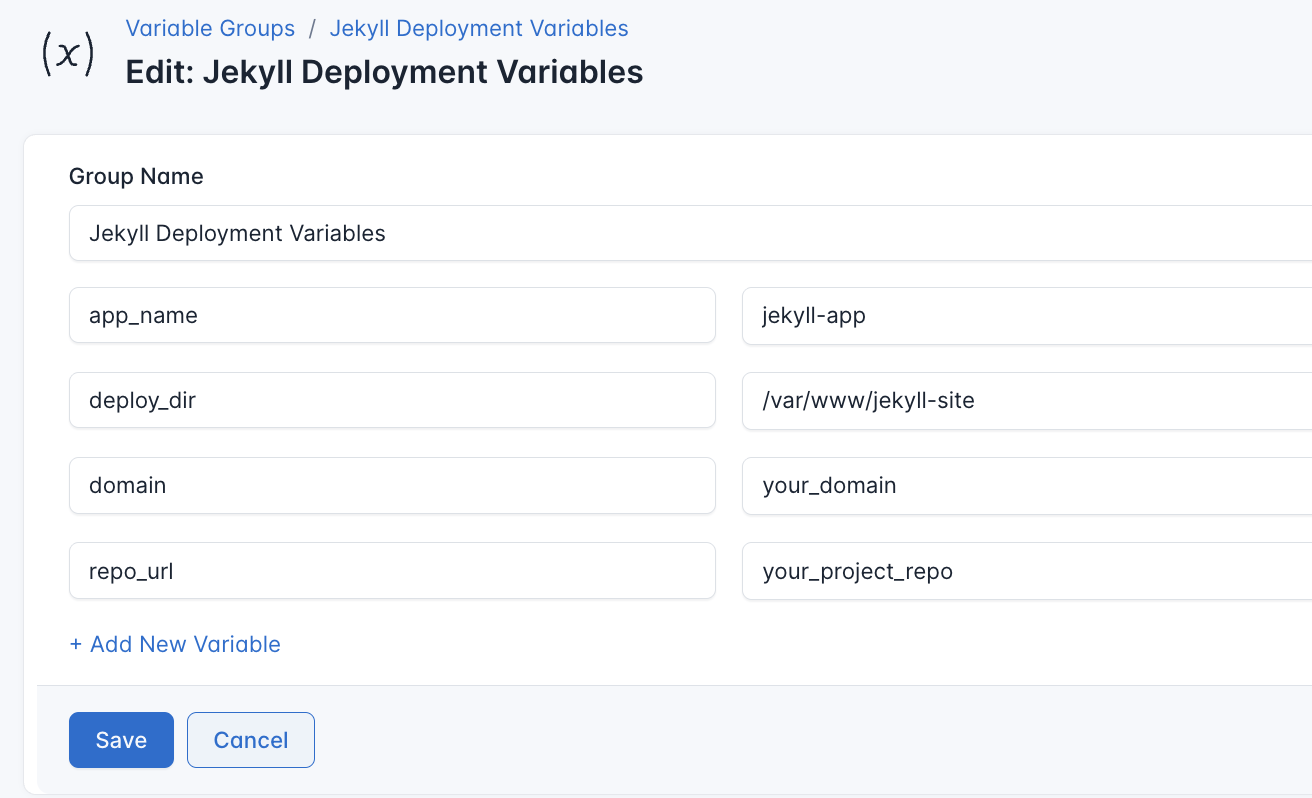
To ensure that these values are automatically substituted when the script runs, follow these steps to create a variable Group:
- Navigate to Variable Groups: In your CloudRay project, go to “Scripts” in the top menu and click on “Variable Groups”.
- Create a new Variable Group: Click on “Variable Group”.
- Add the following variables:
repo_url: The URL of your GitHub repositoryapp_name: Your Jekyll deployment directorydomain: This is the name of your domain, e.g.,myapp.example.comdeploy_dir: Final directory Nginx will serve from (e.g.,/var/www/jekyll-site)
Since the variables is setup, proceed with running the scripts with CloudRay
Run the Deployment Script
CloudRay uses Runlogs to execute scripts on your servers while providing real-time logs of the execution process.
Once the script is saved, you can deploy your Jekyll site by creating a Runlog:
- Navigate to Runlogs: In your CloudRay project, go to the Runlogs section in the top menu.
- Create a New Runlog: Click on New Runlog.
- Configure the Runlog: Fill in the required details:
- Server: Select the server you added earlier.
- Script: Choose the “Deploy Jekyll Site”
- Variable Group (optional): Select the variable group you created earlier.
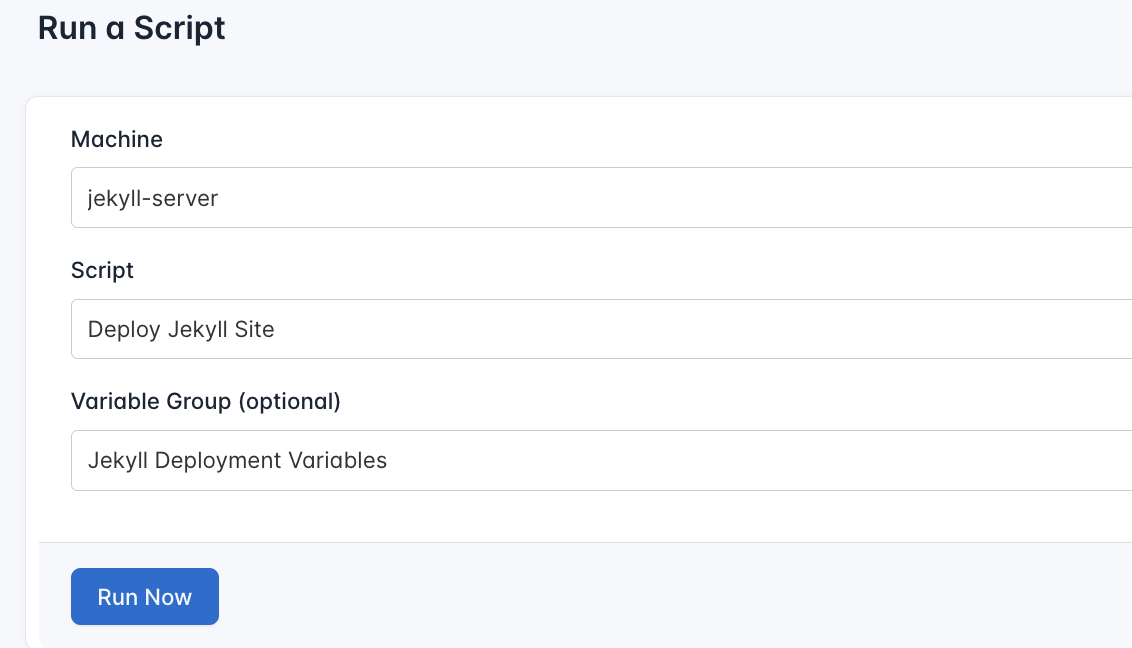
- Execute the Script: Click on Run Now to start the execution.
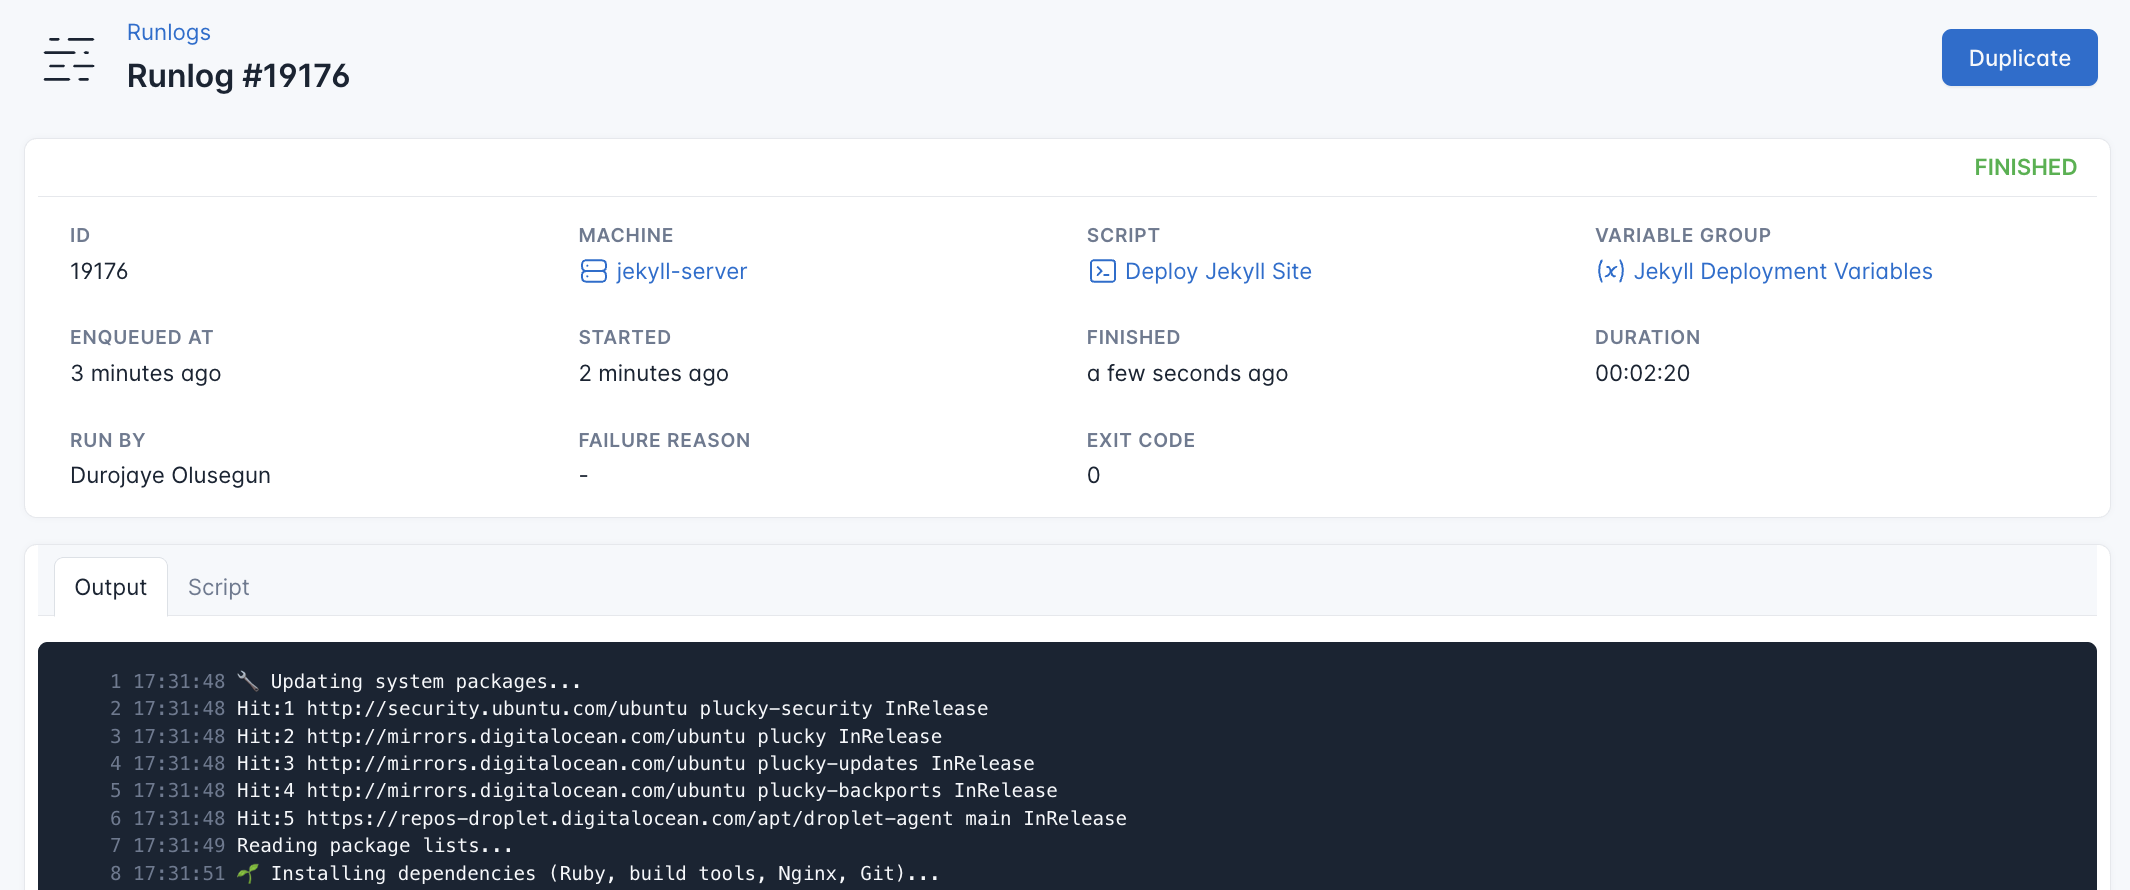
CloudRay will automatically connect to your server, run the Deploy Jekyll Site, and provide live logs to track the process. If any errors occur, you can review the logs to troubleshoot the issue.
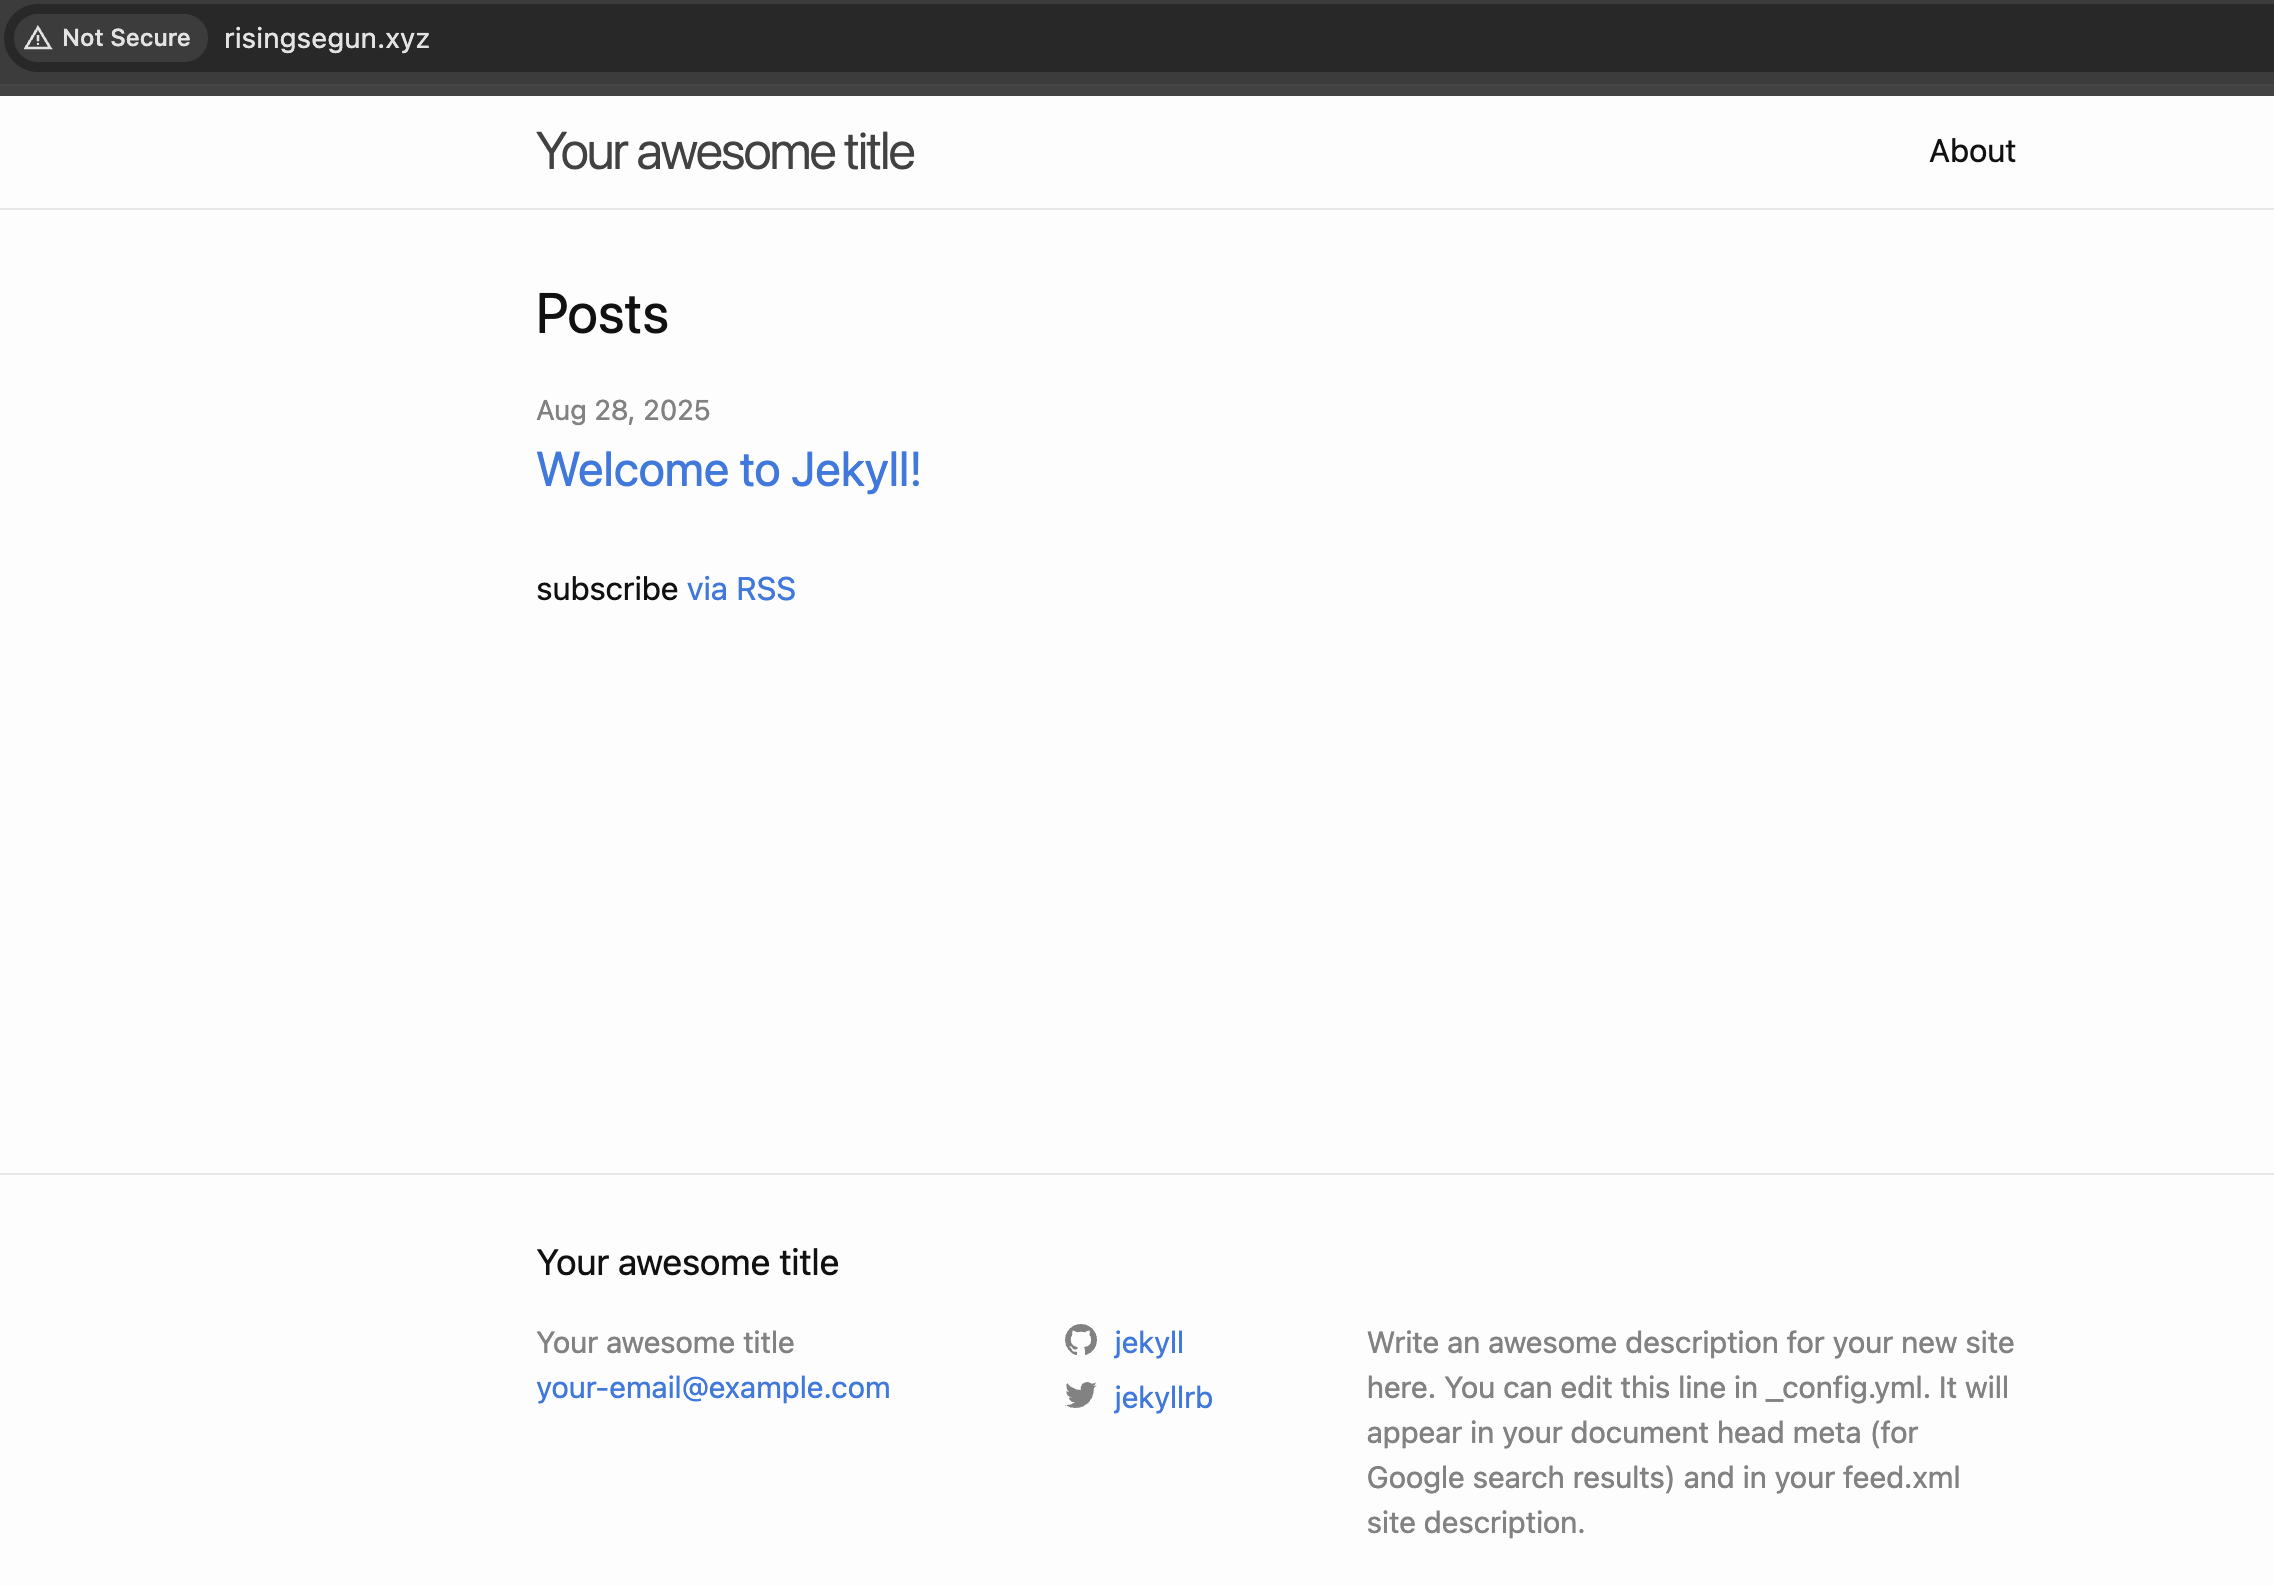
Once the deployment is complete, you can visit http://<your_domain>. You should see your Jekyll site up and running
Next Step
To improve your deployment and security:
- You can use Let’s Encrypt to add HTTPS support
- Set up automatic redeployment with webhooks or CI/CD
Summary
With CloudRay, deploying your Jekyll site to Ubuntu becomes a structured and repeatable process. Scripts remain organised, server access is centralised, and you can easily tweak configurations with variable groups.
For more deployment guides and use cases, check out our CloudRay Guides or explore the CloudRay Docs.

Olusegun Durojaye
CloudRay Engineering Team